Fully On-Chain SVG NFTs — Part 2: ERC-721 NFT Contract
How to create a fully on chain NFT
Written By
Eto VassPublished On

Intro
In the previous tutorial, we created a Solidity contract that generates SVG content. In this tutorial, we will turn these SVG outputs into NFTs that anyone can mint, and that can be listed on the major NTF marketplaces (like OpenSea, Rarible, etc.).
ERC-721 Standard
ERC-721 is one of the standards behind non-fungible tokens a.k.a NFTs (ERC-1155 is the other one, which provides flexibility by supporting multiple token types in a single contract. ERC-1155 is outside the scope of this particular tutorial, but may be covered in a future one).
There is a great in-depth article on ERC-721 that was released several days before this tutorial, and I’d strongly recommend reading it since it provides quite helpful and detailed information. It is available here:
The Power of NFTs and ERC-721 on Ethereum
In short, the ERC-721 standard defines a set of methods and events that every compatible NFT must implement. Once implemented, these NFTs can be viewed in the NFT marketplaces and traded there.
Methods
1function balanceOf(address _owner) external view returns (uint256);2function ownerOf(uint256 _tokenId) external view returns (address);3function safeTransferFrom(address _from, address _to, uint256 _tokenId, bytes data) external payable;4function safeTransferFrom(address _from, address _to, uint256 _tokenId) external payable;5function transferFrom(address _from, address _to, uint256 _tokenId) external payable;6function approve(address _approved, uint256 _tokenId) external payable;7function setApprovalForAll(address _operator, bool _approved) external;8function getApproved(uint256 _tokenId) external view returns (address);9function isApprovedForAll(address _owner, address _operator) external view returns (bool);
- balanceOf: count all NFTs assigned to an owner
- ownerOf: find the owner of an NFT
- safeTransferFrom: transfers the ownership of an NFT from one address to another address
- transferFrom: transfer ownership of an NFT. The caller is responsible to confirm that the _to address is capable of receiving NFTs or else the NFT may be permanently lost.
- setApprovalForAll: enable or disable approval for a third party (marketplaces, like OpenSea) to manage all of msg.sender’s assets. This method allows an NFT owner to grant another address permission to transfer all of their tokens on their behalf. This can be useful for a variety of purposes, such as listing NFTs on marketplaces, liquidity minting/staking, etc. More details how this method works, can be found here.
- getApproved: returns the account that has been approved to transfer a specific token on behalf of the owner. Used together with approve method
- approve: change or reaffirm the approved address for a specific token
- isApprovedForAll: query if an address is an authorized operator for another address
Events
1event Transfer(address indexed _from, address indexed _to, uint256 indexed _tokenId);2event Approval(address indexed _owner, address indexed _approved, uint256 indexed _tokenId);3event ApprovalForAll(address indexed _owner, address indexed _operator, bool _approved);
- Transfer: this emits when ownership of any NFT changes by any mechanism.
- Approval: this emits when the approved address for an NFT is changed or reaffirmed.
- ApprovalForAll: this emits when an operator is enabled or disabled for an owner. The operator can manage all NFTs of the owner.
Metadata Extension
There is an ERC-721 extension that also describes the metadata for the NFT. It has the following methods:
1function name() external view returns (string _name);2function symbol() external view returns (string _symbol);3function tokenURI(uint256 _tokenId) external view returns (string);
- name: returns the name (description) of the NFT (for example: AlienRunes)
- symbol: a short symbol that represents the NFT (for example: 0xAR)
- tokenURI: returns URL to a JSON file that describes the NFT. This will be covered in detail later in the tutorial.
OpenZeppelin
Fortunately, there are several well-tested ERC-721 implementations that cover most of the complexity related to ERC-721 and make the life of the NFT creators easier. The most commonly used is OpenZeppelin (note: OpenZeppelin ERC-721 implementation is not the most gas-efficient. For my NFTs, I prefer Chiru Labs ERC-721A implementation, which can be found here. For the purpose of this tutorial, we will use OpenZeppelin since it is the most common one, and other more efficient implementations can be covered in more advanced tutorials in the future).
Our First ERC-721 Contract
OpenZeppelin also provides a friendly wizard that can help you configure everything needed for your NFT contract.
The code for this tutorial is available at https://github.com/etovass/svg-nft-tutorials/tree/main/tutorial-2-NFT-contract. If you prefer to use already created code, go ahead and check out the repository from GitHub, and then you can directly proceed to section Test the NFT Contract.
If you want to follow the follow the tutorial step by step, then continue reading this section.
Now go to https://wizard.openzeppelin.com/#erc721 and enter Name and Symbol and select Mintable, Auto Increment Ids, Enumerable and Ownable.

Open your favourite IDE, create a directory called tutorial-2-NFT-contract to be a sibling to tutorial-1-basic-svg-rendering, and initialize Foundry for that directory (described in detail in the previous tutorial — Part 1). Now open your IDE (I prefer to use Visual Studio Code), copy the code from the wizard to a new file called NFTManager.sol (also rename the contract to be called NFTManager), and place that file in a src directory. You also need to change the solidity version at the top of the file to 0.8.21 since all other files use that version.
You may see some errors in your Visual Studio Code / IDE , in order to remove them you need to install OpenZeppelin contracts. In tutorial-2-NFT-contract directory, execute the following command:
npm install --save-dev @openzeppelin/contracts
Also, edit foundry.toml in the same directory and add the following section at the end of the file:
1remappings = [2 "@openzeppelin/=node_modules/@openzeppelin",3]
After these steps, all of the errors in Visual Studio Code / IDE must disappear.
You can also manually verify that everything is configured well, executing ‘forge build’ in the same directory, and it must finish with success.
Adding Features to NFTManager.sol
NFTManager.sol is still not ready; we need to add several more things there to make it work.
Add the following two constants to NFTManager.sol:
1uint256 public constant PRICE = 0.005 ether;2uint256 public constant MAX_NFT_ITEMS = 121;
The first one is the price per mint — in our case 0.005 ethers. The second is the limit of the NFTs in this collection, in our case 121.
Then add mintIsOpen modifier and modify safeMint as follows:
1modifier mintIsOpen {2 require(totalSupply() < MAX_NFT_ITEMS, "Mint has ended");3 _;4}56function safeMint(address to) public mintIsOpen payable {7 require(msg.value >= PRICE, "Insufficient funds");89 uint256 tokenId = _nextTokenId++;10 _safeMint(to, tokenId);11}
mintIsOpen is a Solidity modifier that can be added to methods. It ensures that the collection is not fully minted before invoking safeMint (it will revert the call if it is). We also made safeMint payable and with msg.value >= PRICE we verify that our contract will receive at least 0.005 ethers from everyone who wants to mint our NFT.
Change also the constructor to:
1constructor() ERC721("Eto Vass NFT Tutorial", "0xEV") Ownable(msg.sender) {2}
This will ensure that the contract's owner will be the address that will create it.
We are just one step away from having a mintable contract — the token URI method is still missing, and this is how we present the NFT data to the world.
tokenURI Method
We need to implement tokenURI method to present our NFT to the world. We have to render our SVG in this method and wrap it with some metadata. The method has the following signature
1function tokenURI(uint256 _tokenId) external view returns (string);
and tokenURI returns URL to a JSON file that describes the NFT and its metadata. And since we are building fully on-chain NFT, our URL must be data URL encoded (check here for the details).
OpenSea has a decent description of what the metadata has to contain and it is available here: https://docs.opensea.io/docs/metadata-standards
We need to provide the metadata as JSON that is data URL encoded and to include attributes like:
- name — the specific NFT
- description — of the specific NFT
- image — this is the URL of the image for a specific NFT. It must be also data URL encoded in our case since we are creating on-chain NFT (there are two other attributes that can also be used — image_data and animation_url. They will be covered in the future in more advanced tutorial that will focus on how NFT marketplaces render our NFT arts)
- attributes — an array of attributes that marketplaces will show and that define the traits of every individual NFT (see https://docs.opensea.io/docs/metadata-standards#attributes)
Additional Solidity Files
Before we continue with the implementation of the tokenURI method, you need to get the following files from the GitHub repository and place them in the same directory as NFTManager.sol
- Random.sol : a collection of pseudo-random methods that help us achieve some randomness in our collection
- Utils.sol : helpful utility methods, most notable are gas-optimized toString() and Base64 encoder methods
- Traits.sol : a library that generates traits that can be used by SVGRenderer.sol and that can be serialized to JSON, i.e., can be included in our tokenURI method.
- SVGRender.sol : a contract that outputs the SVG Content of our NFT collection.
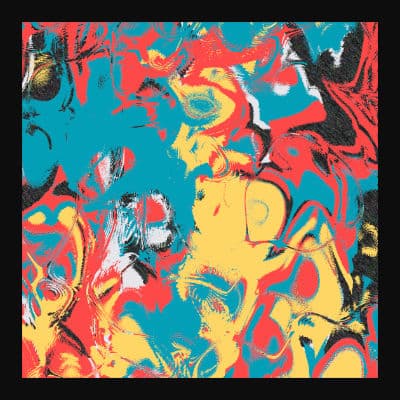
Our SVG NFT Collection
The idea for the SVG NFT collection in this tutorial is simple. Select a random base hue and then draw up to 100 figures with different saturation, lightning and opacity. Figures are with random coordinates and can be lines, circles, rectangles and round rectangles. Here are visual examples for each of the four types of figures:
 lines
lines
 circles
 rectangles
 round rectangles
Traits
Traits for this NFT collection are three:
- Figure — Can be line (10% probability), circle (20% probability), rectangle, (30% probability), round rectangle (40% probability)
- Num Figures — or how many figures to draw. Can be 25 (10% probability), 50 (20% probability), 75 (30% probability), 100 (40% probability)
- Starting Hue — a random hum to start with, can be between 0 and 359 with equal probability
Traits are described in Traits.sol library:
1enum Figure {2 LINE,3 CIRCLE,4 RECTANGLE,5 ROUND_RECTANGLE6}78struct TraitsInfo {9 Figure figure;10 uint numFigures;11 uint startingHue;12}
randomTraits method generate random traits, based on the probabilities described above:
1function randomTraits(RandomCtx memory rndCtx) internal pure returns (TraitsInfo memory) {2 TraitsInfo memory traits = TraitsInfo({3 figure: Figure(Random.randWithProbabilities(rndCtx, Random.probabilityArray(10, 20, 30, 40))),4 numFigures: (1 + Random.randWithProbabilities(rndCtx, Random.probabilityArray(10, 20, 30, 40))) * 25,5 startingHue: uint(Random.randRange(rndCtx, 0, 359))6 });78 return traits;9}
getTraitsAsJson — serializes traits as JSON array, to be included in tokenURL method.
Renderer
SVGRender contract is responsible for generating SVG and Traits for a specific token id.
1function renderSVG(uint tokenId) public pure returns (string memory svg, string memory traitsAsString) {2 RandomCtx memory ctx = Random.initCtx(tokenId);34 Traits.TraitsInfo memory traits = Traits.randomTraits(ctx);5 traitsAsString = Traits.getTraitsAsJson(traits);67 svg = "";89 uint hue = traits.startingHue;1011 for (uint i=0; i < traits.numFigures; i++) {12 int x1 = Random.randRange(ctx, 0, 512);13 int y1 = Random.randRange(ctx, 0, 512);14 int x2 = Random.randRange(ctx, 0, 512);15 int y2 = Random.randRange(ctx, 0, 512);16 int r = Random.randRange(ctx, 10, 64);17 int sat = Random.randRange(ctx, 0, 100);18 int opacity = Random.randRange(ctx, 10, 39);1920 string memory fill = string.concat('"hsl(',Utils.toString(hue), ',', Utils.toString(sat),'%, 50%)" opacity="0.', Utils.toString(opacity), '"');2122 if (traits.figure == Traits.Figure.LINE) {23 svg = string.concat(svg,24 '<line x1="', Utils.toString(x1), '" y1="', Utils.toString(y1),25 '" x2="', Utils.toString(x2), '" y2="', Utils.toString(y2), '" stroke=', fill, ' stroke-width="10"/>');26 } else if (traits.figure == Traits.Figure.CIRCLE) {27 svg = string.concat(svg, '<circle cx="', Utils.toString(x1), '" cy="', Utils.toString(y1),28 '" r="', Utils.toString(r),'" fill=',fill, '/>');29 } else {30 string memory rx = "";3132 if (traits.figure == Traits.Figure.ROUND_RECTANGLE) {33 rx = string.concat('rx="', Utils.toString(r), '"');34 }3536 svg = string.concat(svg,37 '<rect x="', Utils.toString(Utils.min(x1, x2)), '" y="', Utils.toString(Utils.min(y1, y2)),38 '" width="', Utils.toString(Utils.abs(x2-x1)), '" height="', Utils.toString(Utils.abs(y2-y1)),39 '" ', rx, ' fill=', fill, '/>');40 }41 }4243 svg = string.concat('<svg xmlns="http://www.w3.org/2000/svg" preserveAspectRatio="xMinYMin meet" viewBox="0 0 512 512">',svg,'</svg>');44}
The method initializes a random context with tokenId (which ensures repeatability of the random numbers for specific tokenId). Then generates traits, and based on these traits — the SVG content. The method returns the SVG content, together with the trait attributes.
Putting It All Together
Now we have everything to fully implement the NFT contract and can complete it. We need to implement the tokenURI method in NFTManager.sol. It looks like this:
1function tokenURI(uint256 tokenId) public view override returns (string memory) {2 _requireOwned(tokenId);34 return renderAsDataUri(tokenId);5}67function renderAsDataUri(uint256 _tokenId) public view returns (string memory) {8 string memory svg;9 string memory attributes;1011 (svg, attributes) = renderer.renderSVG(_tokenId);1213 string memory image = string.concat('"image":"data:image/svg+xml;base64,', Utils.encode(bytes(svg)),'"');1415 string memory json = string.concat(16 '{"name":"On-chain SVG NFT Tutorial #',17 Utils.toString(_tokenId),18 '","description":"This is NFT from the On-chain SVG NFT Tutorial by Eto Vass ",',19 attributes,20 ',', image,21 '}'22 );2324 return25 string.concat(26 "data:application/json;base64,",27 Utils.encode(bytes(json))28 );29}
- _requireOwned(tokenId): verifies that NFT with a specific id is already minted, to ensure that only minted are visible (for non-minted, error will be thrown)
- renderAsDataUri(tokenId): generates SVG and Traits (through SVGRеnderer), encode SVG as base64 encoded data URL, create the JSON content and encode it again as base64 data URL.
Feature: Reserve NFT Tokens for the Team
Sometimes it is a practice for NFT author(s) to reserve some tokens for themself on collection launch. We can easily do that if you change the constructor of NFTManager, to:
1constructor(uint256 _reservedForTeam) ERC721("Eto Vass NFT Tutorial", "0xEV") Ownable(msg.sender) {2 renderer = new SVGRenderer();34 for (uint i=0; i < _reservedForTeam; i++) {5 uint256 tokenId = _nextTokenId++;6 _safeMint(msg.sender, tokenId);7 }8}
If you don’t want to reserve anything for the author(s), then you can pass 0. Note: for simplicity, this code does not verify if reserved for team exceeds the limit of NTFs in this collection.
Test the NFT Contract
We have everything in place now, a fully built ERC-721 minting contract. We can test it now.
Copy https://github.com/etovass/svg-nft-tutorials/tree/main/tutorial-2-NFT-contract/test into test directory, which must be sibling to src. Testing contracts are very similar to those from the first tutorial. Create a file NFTManager.t.sol, instantiate the contract with 0 reserved for the team and call renderAsDataUri method (which was made public in order to directly callable) in the right place.
1contract NFTManagerTest is AbstractTest {2 NFTManager public renderer;34 function setUp() public {5 renderer = new NFTManager(0);6 }78 function renderContract(uint tokenId) internal override returns(string memory svg) {9 return renderer.renderAsDataUri(tokenId);10 }1112 function testSvgRenderer() public {13 super.testRenderer();14 }15}
You can now test the contact. Go to tutorial-2-NFT-contract and execute:
npm --prefix ../ts-tooling run hot-reload ../tutorial-2-NFT-contract/ test/NFTManager.t.sol testSvgRenderer 0
(for convenience, you can just call start-hot-reload.sh if you use the code from the GitHub).
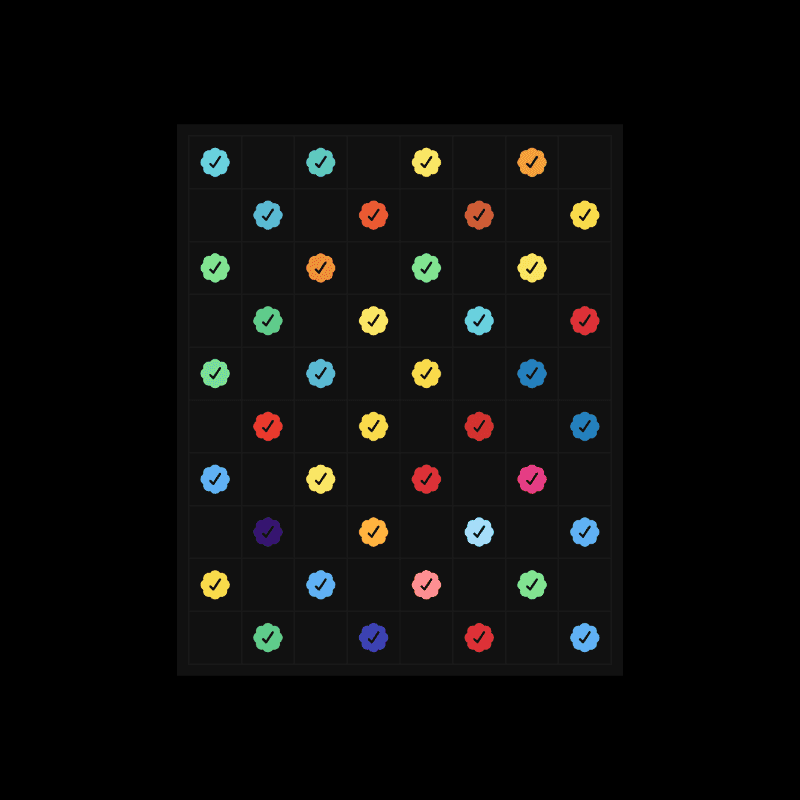
If successful, you can navigate to http://localhost:9901/ and see the contract output and its JSON metadata.

I extended the tooling used in Part 1 also to support JSON metadata, and to parse it and show the JSON, plus the image.
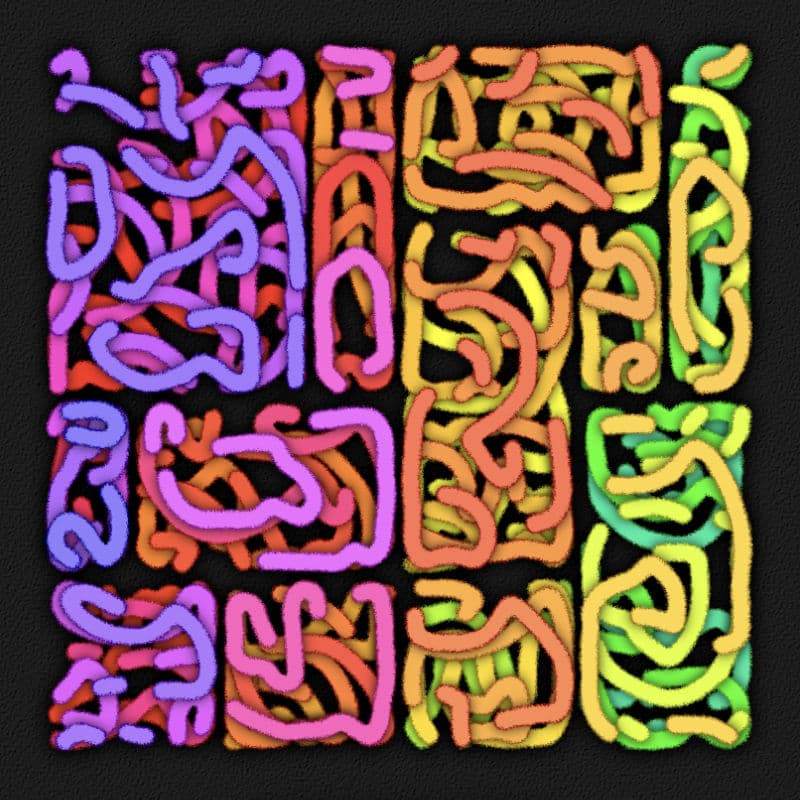
I also created another tool, called qa-collection (inspired by https://github.com/w1nt3r-eth/hot-chain-svg/). With this tool, you can generate many SVGs, they will also be validated and rendered as PNGs for convenience.
If you run the tool you will see how it is used:
Usage:
npm run qa-collection - <FOUNDRY_PROJECT_ROOT_PATH> <TEST_CONTRACT> <TEST_METHOD> <START_ID> <END_ID
Example:
npm run qa-collection - ../tutorial-2-NFT-contract/ test/NFTManager.t.sol testSvgRenderer 0 100
If you want to run the tool from tutorial-2-NFT-contract then you can use:
npm --prefix ../ts-tooling run qa-collection ../tutorial-2-NFT-contract/ test/NFTManager.t.sol testSvgRenderer 0 120
or start-qa-collection.sh if you got it from GitHub.
The tool will generate many NFT items in batch, will calculate minimum and maximum GAS that was used, will warn if GAS is close or above 30M and will also show the occurrences for each of the traits. This tool is extremely helpful for any on-chain NFT developer.
Here is a sample output:

Deploying the Contract
After we tested our contract, it is now time to deploy it to the Ethereum network.
The best way to do that is to use Foundry Deploy Script.
Create directory called script inside tutorial-2-NFT-contract and create a file called Deploy.s.sol in this directory with the following content:
1pragma solidity ^0.8.21;23import "forge-std/Script.sol";4import "../src/NFTManager.sol";56contract Deploy is Script {7 function run() external {8 uint256 deployerPrivateKey = vm.envUint("PRIVATE_KEY");9 vm.startBroadcast(deployerPrivateKey);1011 NFTManager ntfManager = new NFTManager(15);1213 vm.stopBroadcast();14 }15}
This is a simple script that will deploy your contract when executed properly. If you have multiple contracts that depends on each other — you just instantiate them in the right order after vm.startBroadcast() and before vm.stopBroadcast(). You will also need to have environment variable called PRIVATE_KEY that will contain the private key of the wallet/address that is deploying the contract for the Ethereum network where you are deploying.
Deploying Locally
Before deploying to a public network, it is usually a good practice to deploy on a local node and test locally. Foundry provides a tool called Anvil, which is exactly this — a local test node.
You can run it just with executing anvil in your shell. Upon starting, Anvil will create 10 accounts and will provide their private keys.

Select one of the private keys, for example 0xac0974bec39a17e36ba4a6b4d238ff944bacb478cbed5efcae784d7bf4f2ff80.
By default Anvil is using port 8545.
Now create a script called deploy-local.sh in tutorial-2-NFT-contract with the following content:
#!/bin/shexport PRIVATE_KEY=0xac0974bec39a17e36ba4a6b4d238ff944bacb478cbed5efcae784d7bf4f2ff80forge script ./script/Deploy.s.sol:Deploy --fork-url http://localhost:8545 --broadcast -vvvv
Note: you may need to give deploy-local.sh execution permissions with chmod +x ./deploy-local.sh
http://localhost:8545 is the URL to the Ethereum node, in case you are deploying to testnet or mainnet you have to change it. For now use localhost to deploy the contract locally (your Anvil instance must be running).
Execute deploy-local.sh. Upon success your contract will be deployed on the local node and you will see the contract address:

I have developed another very useful tool, called NFT viewer. It is available here: https://viewer.etovass.xyz/
(also available in https://github.com/etovass/svg-nft-tutorials/tree/main/nextjs-tooling/nft-viewer if you want to run it locally)
With this tool you can test any contract deployed locally or on a public/private node. Localhost is also supported, since the magic happen in the browser, which is running on your machine.

In address field provide the address of your contract. For network — select Custom. For node url — put http://localhost:8545. Function — this is the method you want to test. In our case — you can use tokenURI for tokens from 0 to 14, since in Deploy.s.sol, we initialized NFTManager to mint and reserve the first 15 tokens to the author.
You can also test renderAsDataUri, since it is a public method. In this case — you are not restricted to minted tokens and can provide any value and see how it will be rendered:

Deploying on Testnet
Next and the last step of this tutorial will be to deploy the contract to a testnet. This tutorial will work with Sepolia.
You will need:
- Address with some Sepolia ethers. You can use Sepolia Faucet to send some test ethers to your account. Both Alchemy and Infura are good options, you have to create a free account to use their faucets.
- Private key of your address. You can get it from your wallet. If you use MetaMask which is one of the most popular wallets — see this link.
- Etherscan API Key (to verify your contract). You can get it from https://etherscan.io/myapikey, where you can register for a free account. Create a file called deploy-sepolia.sh and place it in tutorial-2-NFT-contract. With the following content:
Create a file called deploy-sepolia.sh and place it in tutorial-2-NFT-contract. With the following content:
1#!/bin/sh23export PRIVATE_KEY=YOUR_PRIVATE_KEY4export NODE_URL=https://ethereum-sepolia.publicnode.com5export ETHERSCAN_API_KEY=YOUR_ETHERSCAN_API_KEY67forge script script/Deploy.s.sol:Deploy --fork-url $NODE_URL --broadcast --verify -vvvv
Note — replace YOUR_PRIVATE_KEY and YOUR_ETHERSCAN_API_KEY with their actual values.
The script is very similar to the one we used for local Anvil deployment. This one has one additional parameter “verify” that publishes the contract source code to Etherscan and verifies it.
This script will take a little longer to execute and if successful — you will have your NFT contracts deployed to Sepolia and verified in Etherscan.


Congratulations — you have your ERC-721 contract now deployed to testnet. It is also visible through OpenSea. Just open https://testnets.opensea.io/ and place the contract address (0x331dbe16931a959055b73ce6cd2a1006ce79972b) in the search bar and you will be redirected to https://testnets.opensea.io/collection/eto-vass-nft-tutorial.
You can also play with the deployed contract here.
Deploying on Mainnet
Deployment to Ethereum mainnet is very similar. You just need to set NODE_URL to https://ethereum.publicnode.com in your script and you will be able to deploy on Mainnet.
That is all, hope you enjoyed the tutorial!
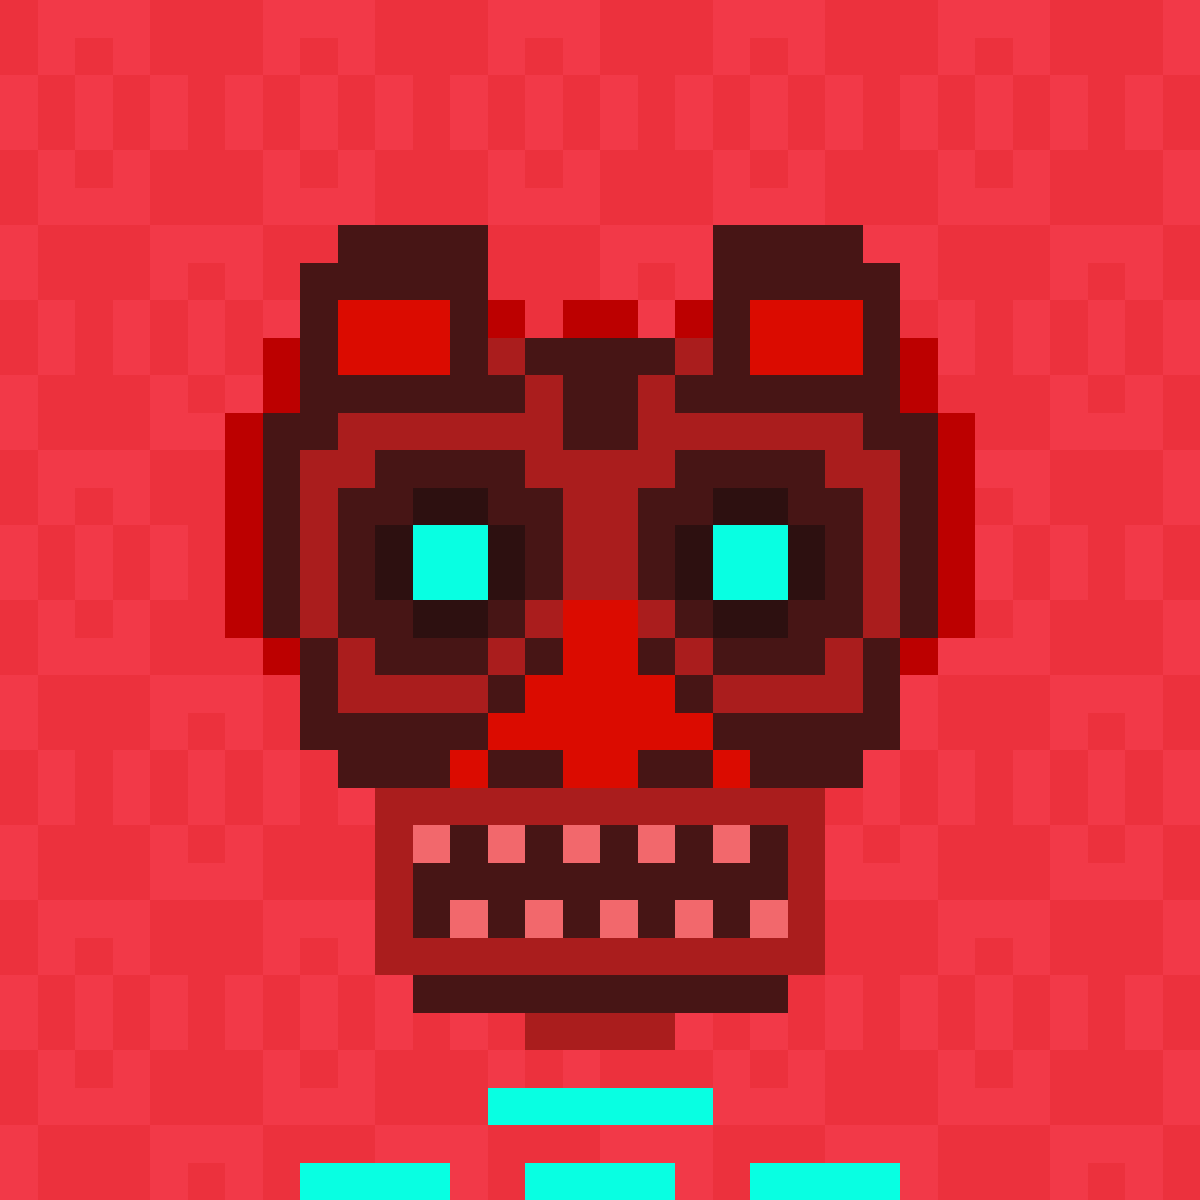
 Alien Rune #0
Thank you for reading. If you like this tutorial, please support the author by minting one or more Alien Runes. Alien Runes is a fully on-chain NFT collection that generates SVG content from Solidity code and has complex algorithms to produce infinite unique runes. Available here: https://alienrunes.xyz/
Links
Git Repo for this tutorial: