Fully On-Chain SVG NFTs — Part 1: Basic SVG Rendering
Creating an on chain NFT SVG
Written By
Eto VassPublished On

On-chain NFTs refer to non-fungible tokens where the metadata and the actual media of the NFT (like an image, video, or text) are stored directly on the blockchain. Unlike most NFTs, where only the ownership and transaction records are stored on chain, on-chain NFTs store everything on-chain including the media.
Intro
On-chain NFTs come in various forms, each utilizing the blockchain’s capabilities in different ways. One type embeds traditional image formats like PNGs or JPGs directly onto the blockchain. These are visually similar to conventional digital images but are immutable and permanently stored on the blockchain. Some on-chain NFTs embed JavaScript and HTML, incorporating libraries like p5.js or three.js. Others generate SVGs (Scalable Vector Graphics) on the fly, directly from the Solidity contract. This tutorial will cover these SVG NFTs specifically. The tutorial will consist of several parts and will cover all aspects of development, testing, deployment, and supporting fully on-chain SVG NFTs, specifically:
- Part 1: Basic SVG Rendering (this post)
- Part 2: ERC-721 NFT Contract (to be released)
- Part 3: Minting website (to be released)
- Part 4: TBD
Some Notable On-Chain SVG NFTs
Before understanding how to create fully on-chain SVG NFTs, it will be helpful to explore several notable on-chain SVG NFT collections (this is not an exhaustive list. There are hundreds, if not thousands, SVG NFTs available. Check the next section for two amazing resources that list fully on-chain NFTs, many of which are SVG NFTs):
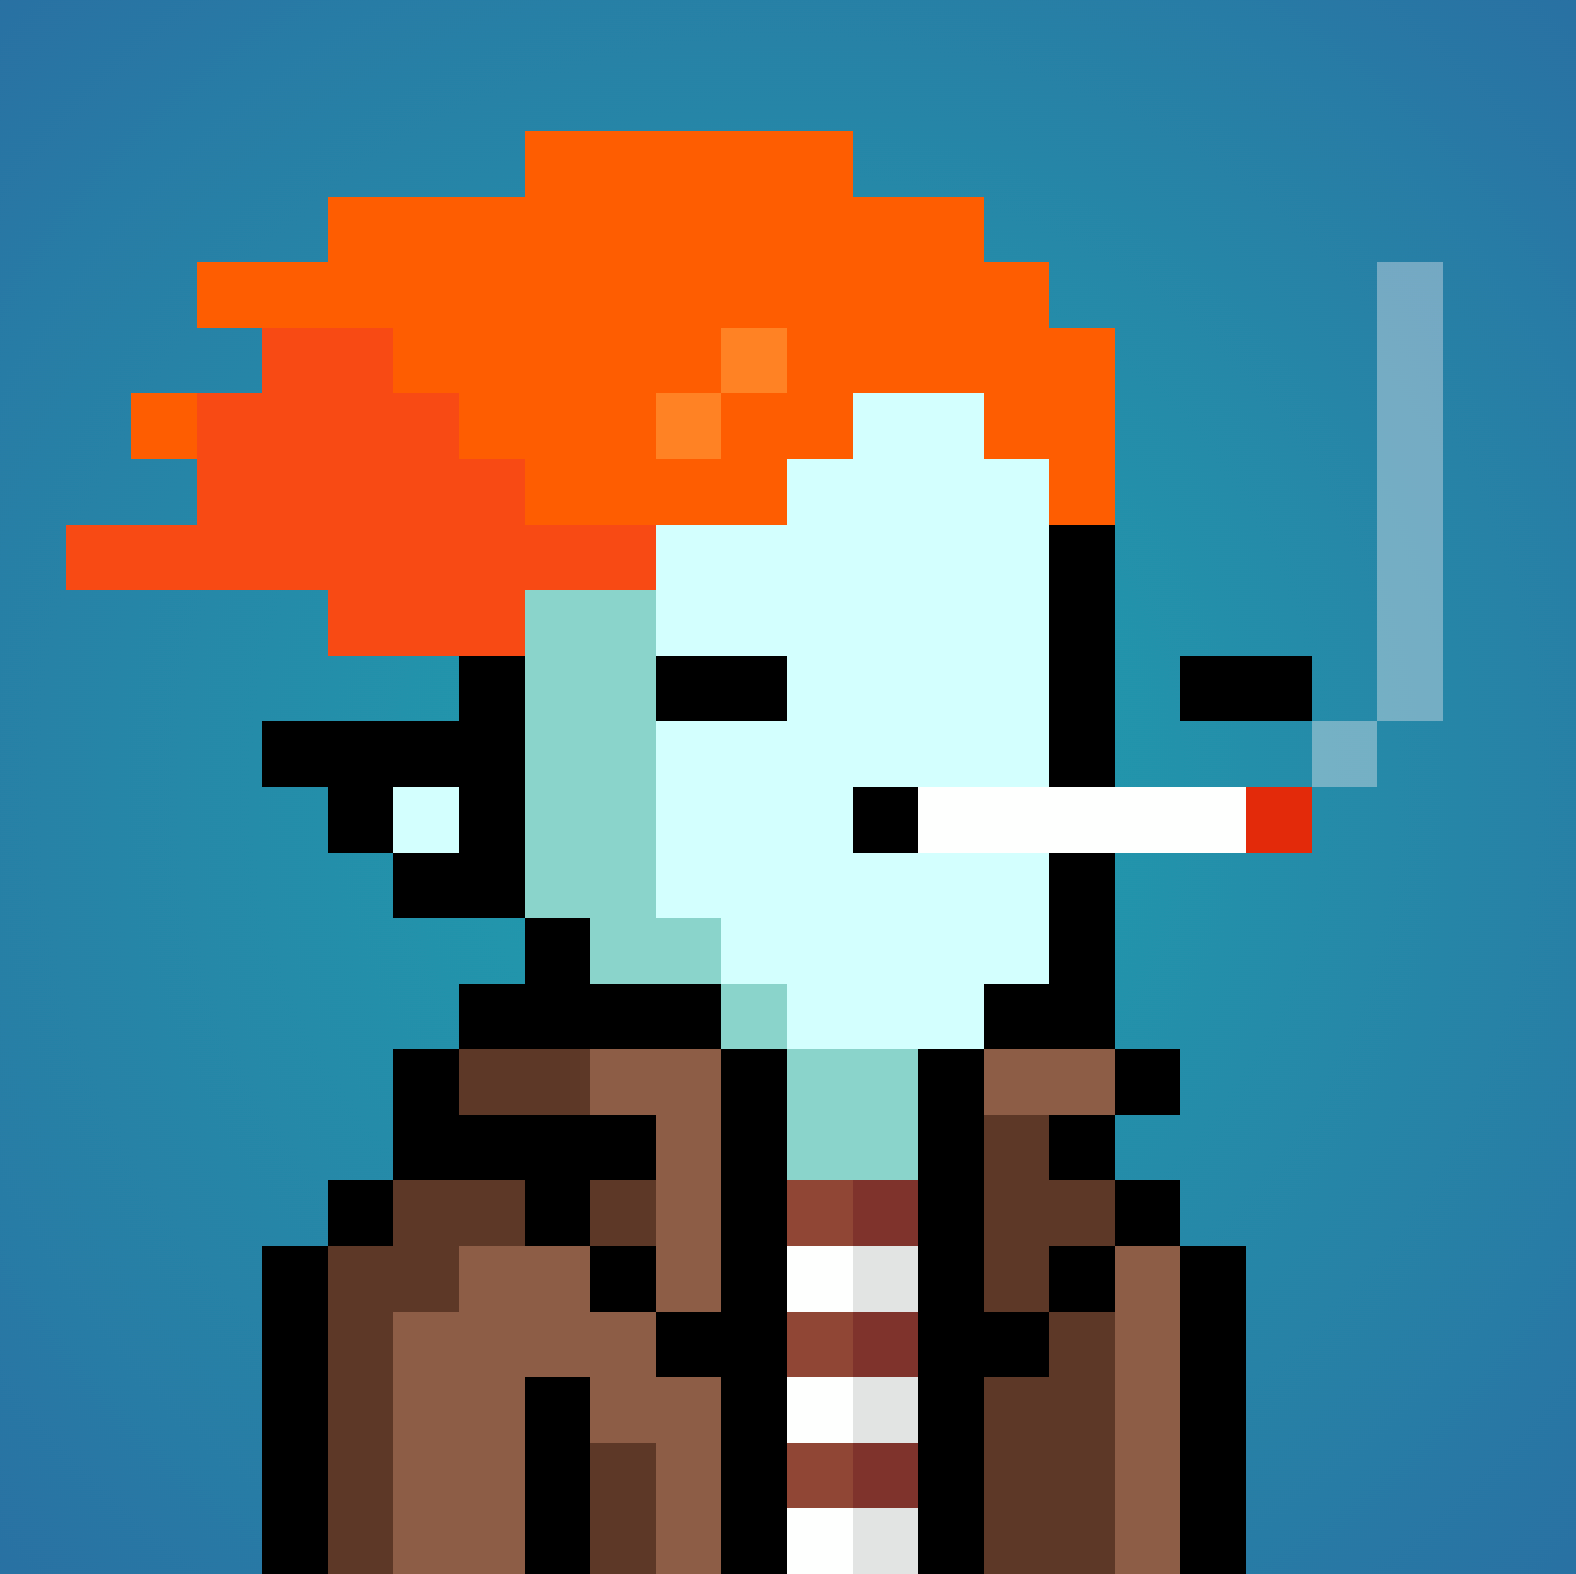
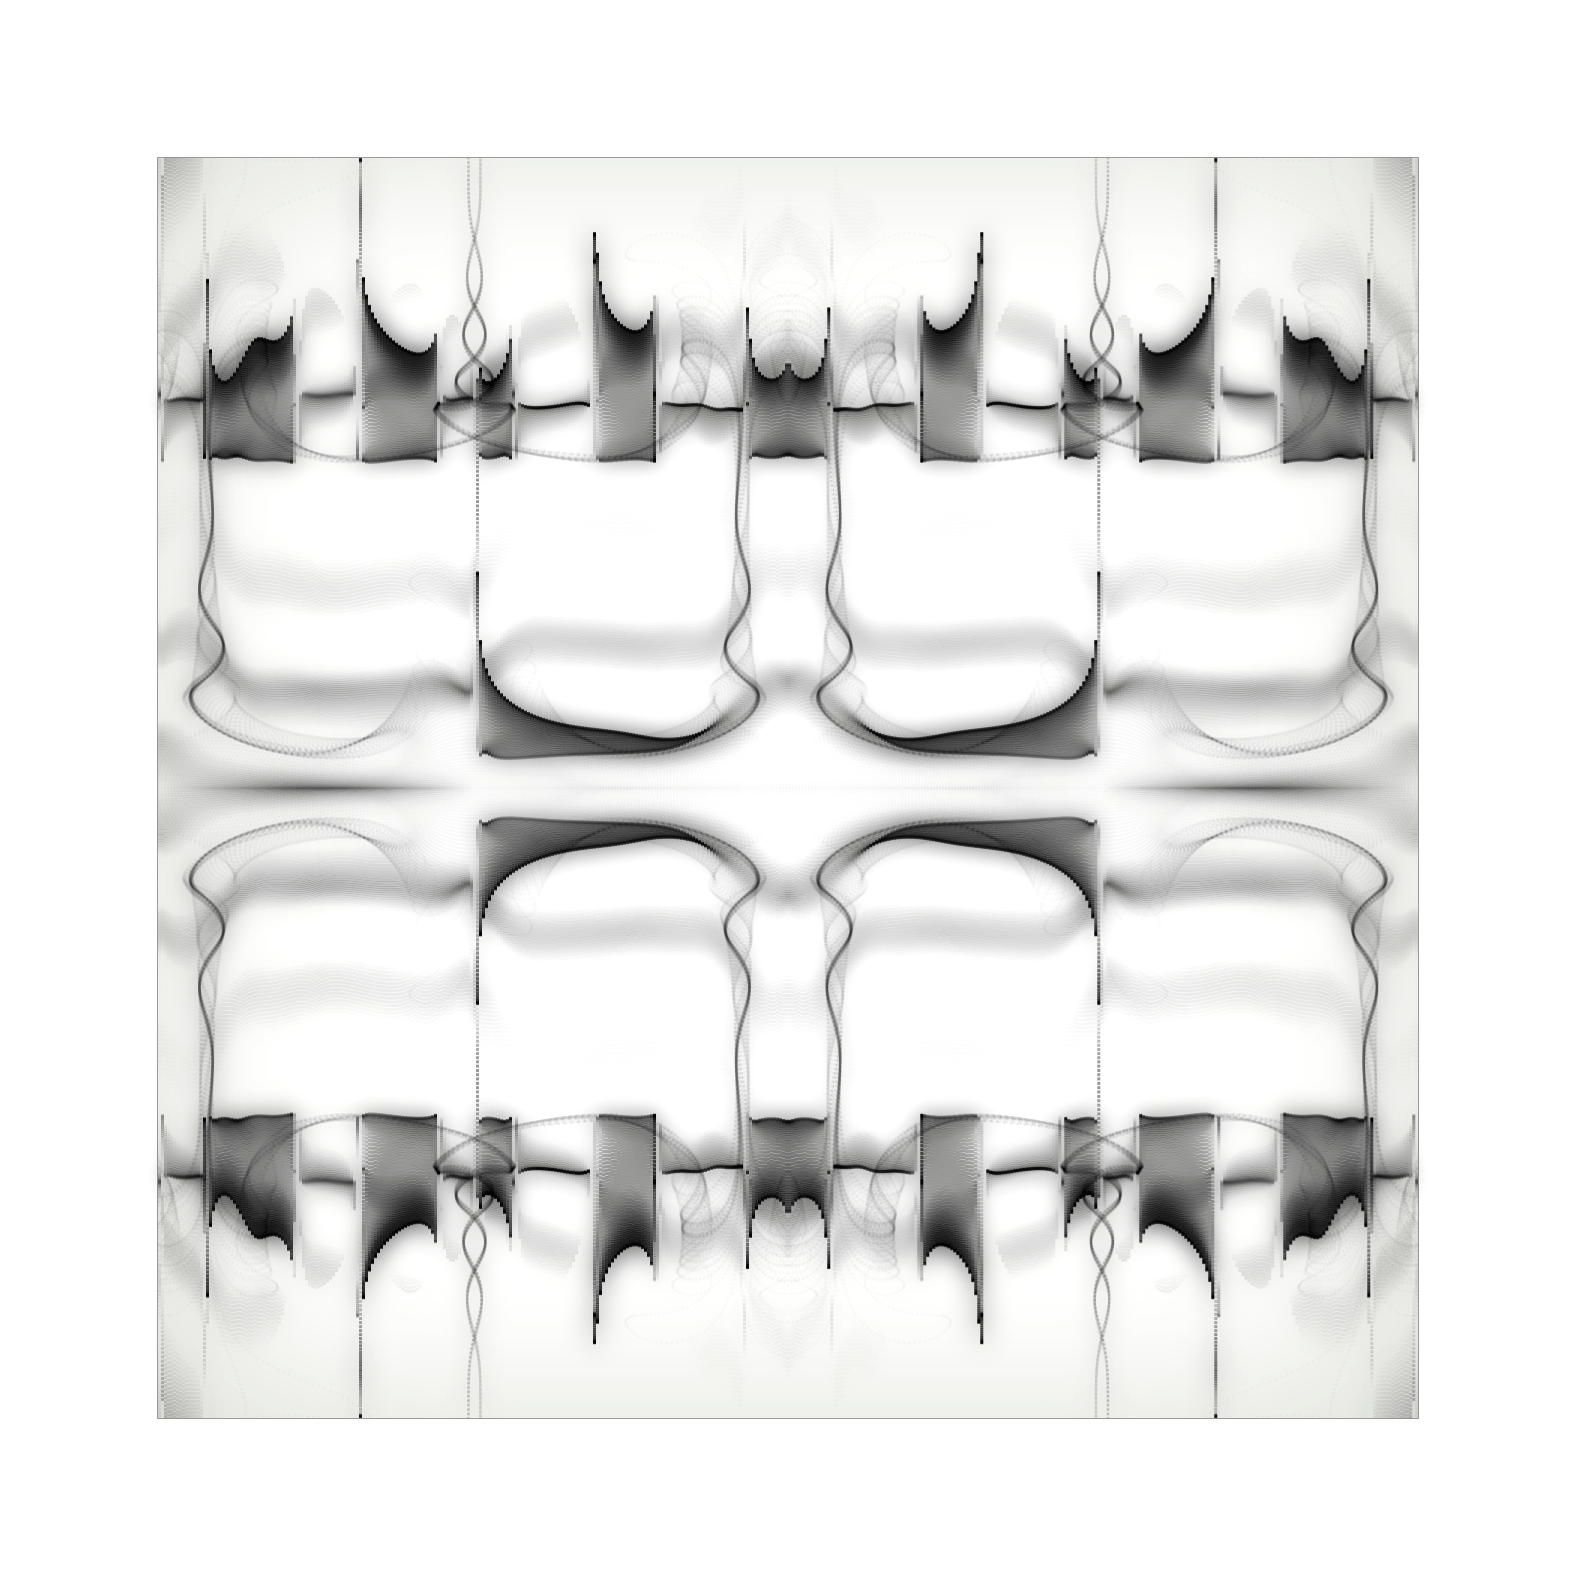
- Pushersleft (ART PONZI) — this NFT is pushing the boundaries of SVG NFTs, having a lot of innovative optimizations so the work can be stored on-chain.
- Chaos Roads — it is more than SVG NFT. The thumbnail is SVG generated, but there is much more. It is an interactive painting, a music piece, and a poem.
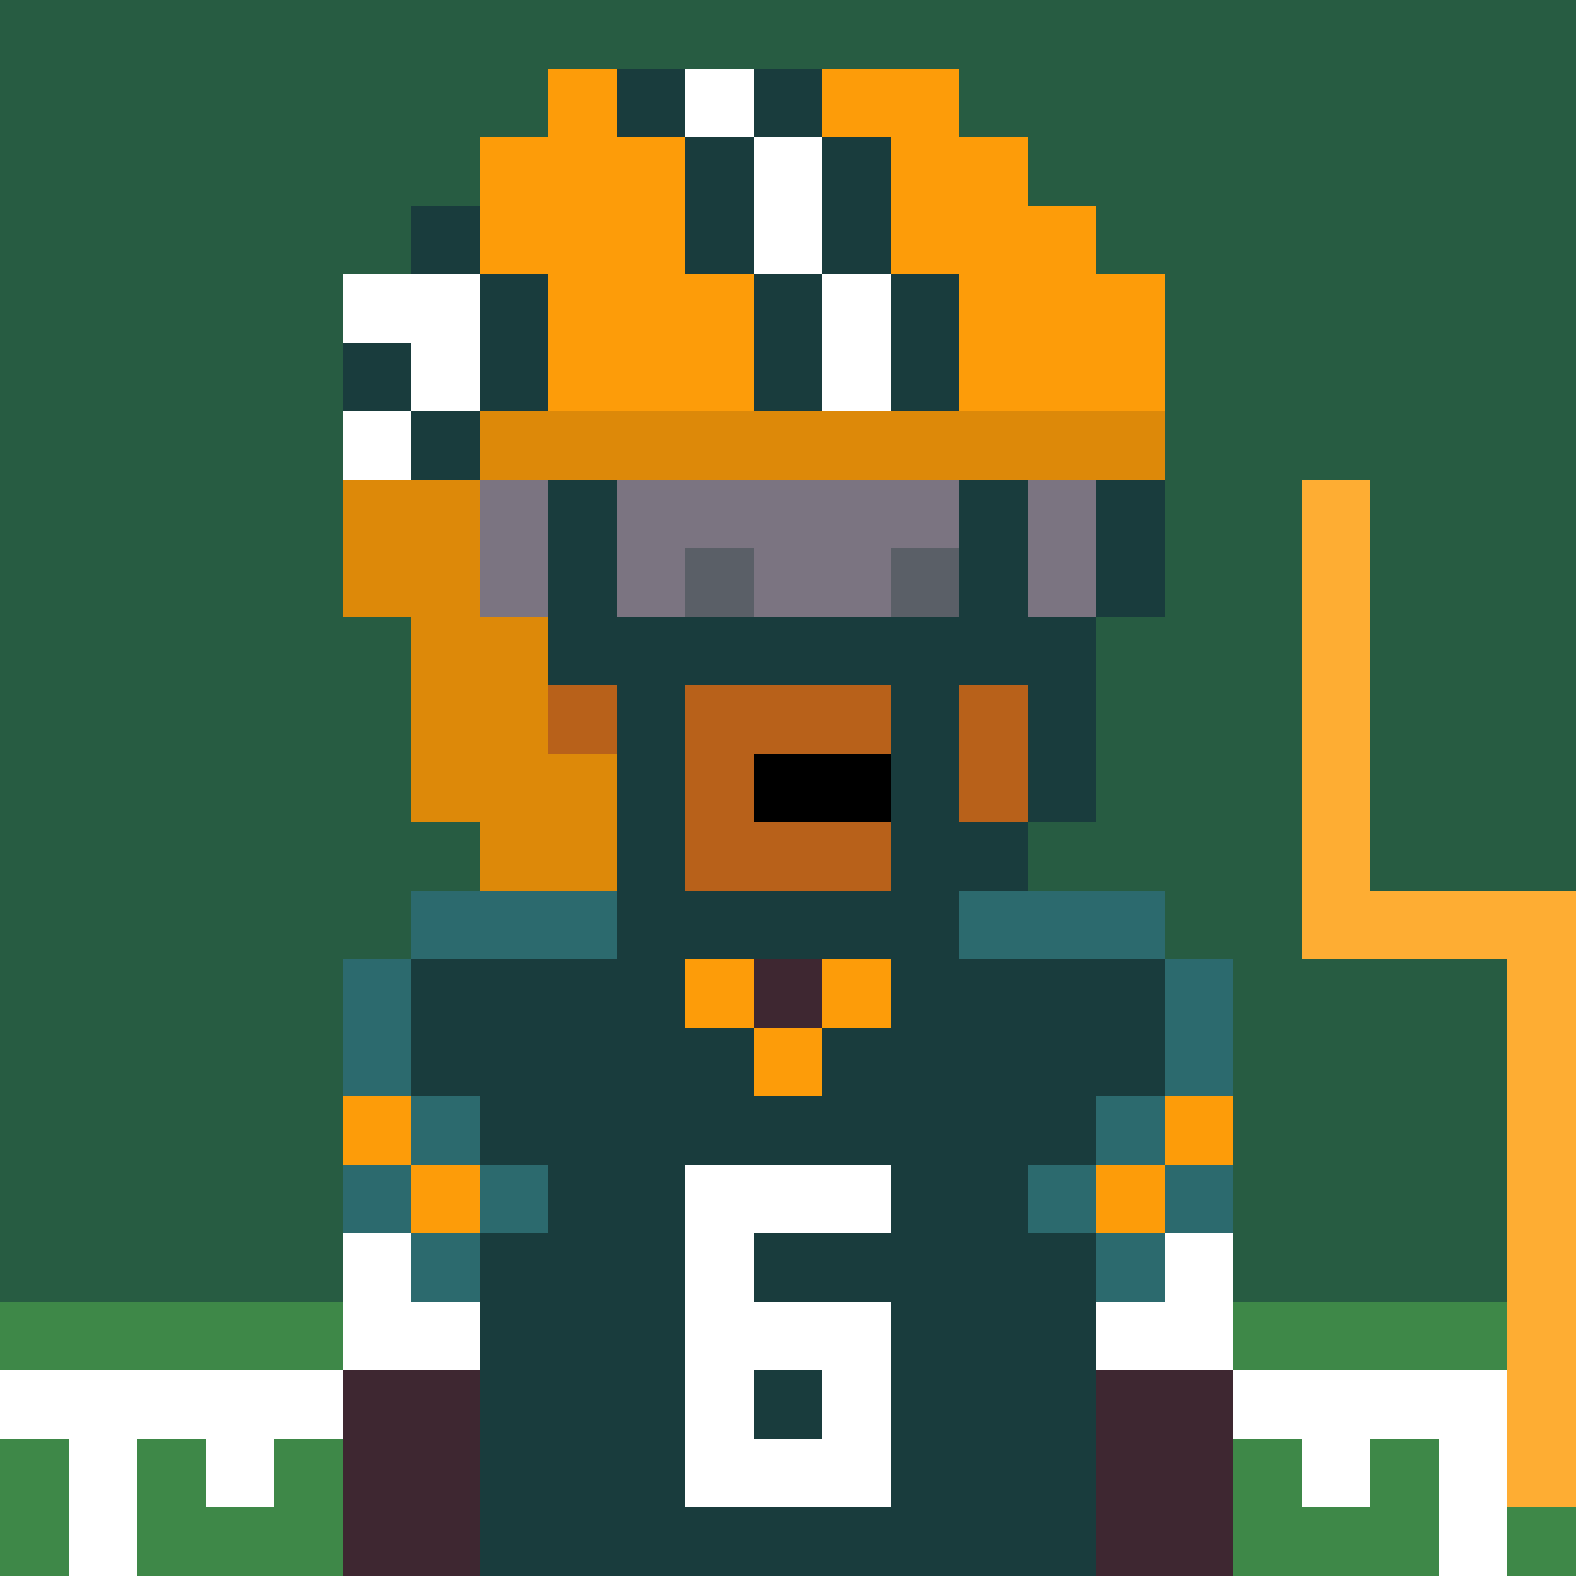
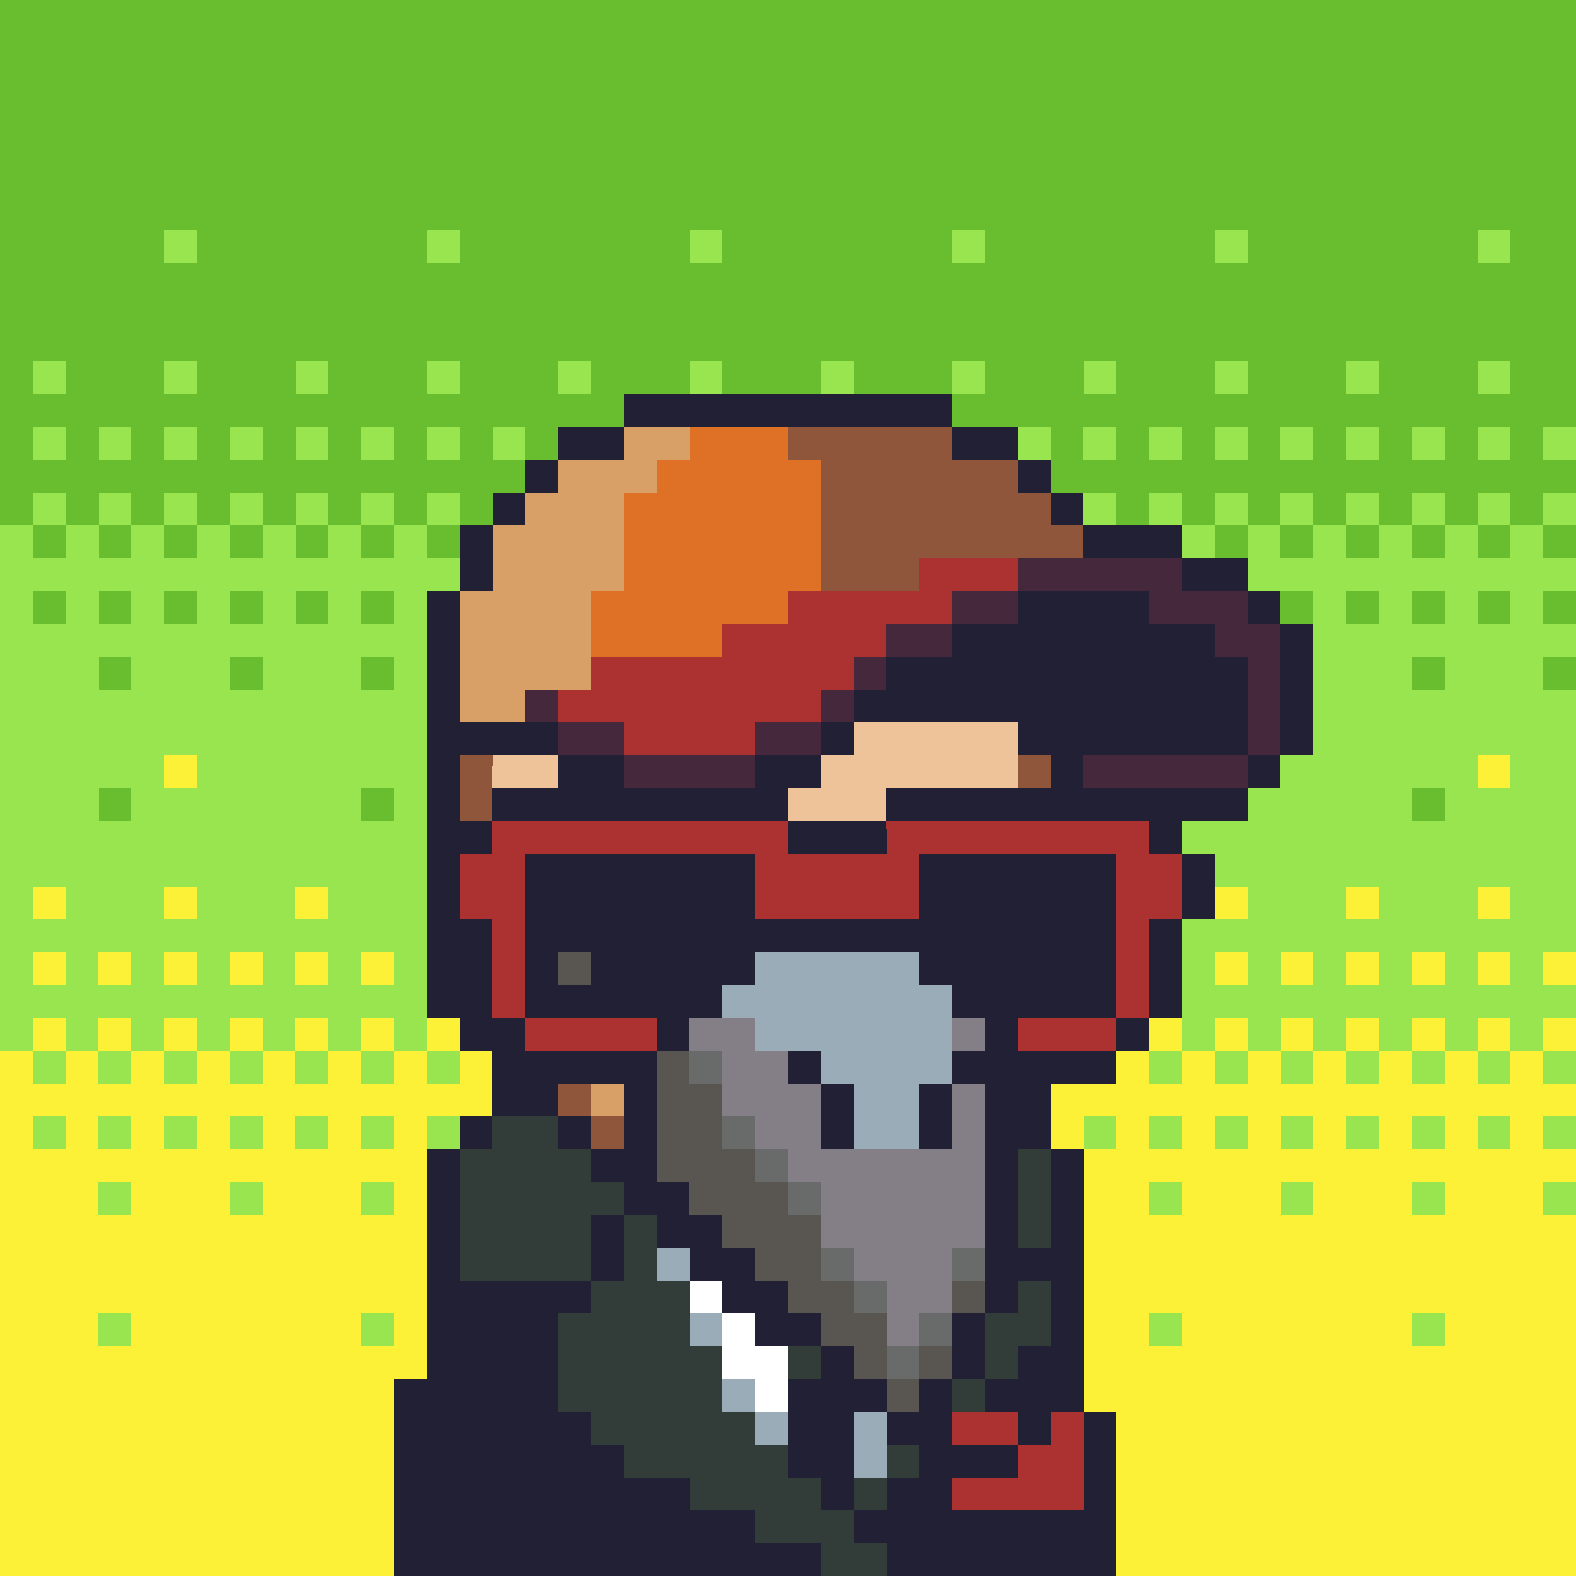
- OnChainMonkey is one of the very successful fully on-chain SVG NFT collections.
- Advent Stars — fully on-chain, dynamic NFT. Quoting the creator: “Every day until the 24th, a new star will illuminate the night sky, occasionally surrounded by colorful nebulae. On Christmas Eve, the celestial display will be fully realized, thus completing the cosmic artwork. Next year? Restart it, and the magic will happen again.”
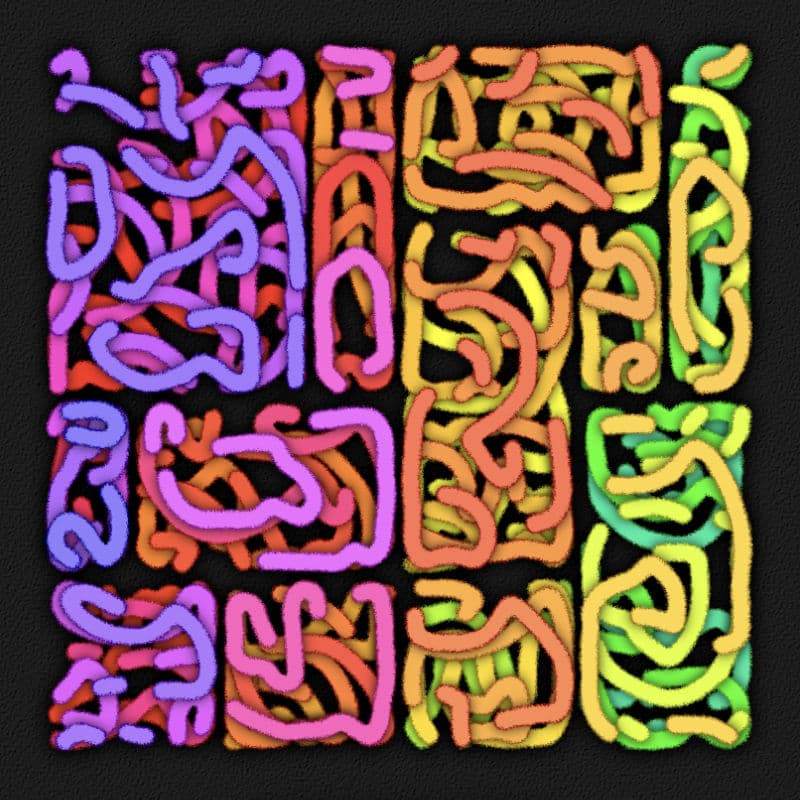
- Alien Runes — this is my own fully on-chain SVG collection. Every rune is unique, and the algorithm can generate infinite runes. The algorithm for rune generation is complex, and it may not be an overstatement to say that this collection generates one of the most complex SVGs among fully on-chain NFTs.
On-Chain NFT Resources
If you like on-chain NFTs, there are two great resources to explore:
- On-Chain Checker (OCC) — a collection of 200+ fully on-chain NFTs. A lot of them are SVG NFTs. On-Chain Checker can also check programmatically whether a given contract produces fully on-chain NFTs.
- Fully On Chain — portal for fully on-chain NFTs. Has close to 200 fully on-chain collections and many other helpful resources. I highly recommend subscribing to its newsletter if you are interested in on-chain NFTs. If you want to understand more about On-Chain NFT, I also recommend the following article — https://metaversal.banklesshq.com/p/onchain-nfts
Tutorial Requirements
This tutorial assumes that you have basic knowledge of Solidity — the programming language behind Ethereum Smart Contract and some basic JavaScript / TypeScript knowledge (most of the code we will write will be Solidty code; There are some TypeScript tooling that we will use in the tutorial, but you can use it as it is; TypeScript knowledge will be required only if you want to enhance the tooling). This tutorial also assumes that you have some knowledge of SVG (Scalable Vector Format) and a basic understanding of GitHub and shell/bash.
The following tools are required to be installed on your machine:
- Node.js — JavaScript runtime (install from here: https://nodejs.org/en/download)
- ts-node — TypeScript runtime, a very convenient tool to run typescript without precompiling it (install from here: https://typestrong.org/ts-node/docs/installation/)
- Foundry — one of the best and fastest toolkits for developing and testing Solidity contracts (install from here: https://book.getfoundry.sh/getting-started/installation)
- A text editor or IDE — Visual Studio Code (https://code.visualstudio.com/download) is recommended, together with this amazing Solidity plugin that integrates well with Foundry (https://marketplace.visualstudio.com/items?itemName=NomicFoundation.hardhat-solidity)
In these tutorials, I’ll guide you in creating an on-chain SVG NFT from scratch (you will need to download the tooling, though).
Disclaimer
The purpose of this tutorial is not to teach you about Solidity or SVG. Neither is to write the most optimized code. The main idea is to show you the tooling and the workflow, that can empower you to create great on-chain SVG NFTs. In the current Part 1 — we will cover the basics, or how to generate and test SVG content, generated by Solidity code.
First Steps
We will first focus on creating a Solidity contract that will output SVG and the tooling that will compile and test this contract. In the next tutorial (Part 2), we will focus on implementing an ERC-721 contract, which would enable “mint” and list the NFT on exchanges (like OpenSea)
To start, create a directory for the contacts, I will use tutorial-1-basic-svg-rendering in this tutorial. Now go to this directory and initialize Foundry:
cd tutorial-1-basic-svg-rendering/forge init --no-git
Please note! You have to run forge init in tutorial-1-basic-svg-rendering folder. If you run the command in the parent directory or in a different subfolder, this will mess up your Foundry configuration, and the rest of the tutorial may not work properly.
Foundry will initialize the current directory (tutorial-1-basic-svg-rendering in my example) and will create a few files and directories.
Delete script directory (we will not need it for now) as well as the src/Counter.sol and test/Counter.sol.
Your directory now looks like this — nice and clean:

Now create a file in the src directory called BasicSVGRenderer.sol and populate it with the following content:
1// SPDX-License-Identifier: MIT2pragma solidity ^0.8.21;34contract BasicSVGRenderer {5 function renderSVG() public pure returns (string memory) {6 return '<svg xmlns="http://www.w3.org/2000/svg" preserveAspectRatio="xMinYMin meet" viewBox="0 0 512 512">'7 '<circle cx="256" cy="256" r="128" fill="green"/>'8 '</svg>';9 }10}
Congratulations, you now have a Solidity contract that can output SVG content.
Run the following command to compile the contract.
forge build
If successful, you will see two new directories created — cached and out. In out, Forge will output the compiled contract in JSON format.
Next is creating a test to output the SVG content to the console.
Create BasicSVGRenderer.t.sol in test directory and populate it with the following content:
1// SPDX-License-Identifier: MIT2pragma solidity ^0.8.21;34import { BasicSVGRenderer } from "../src/BasicSVGRenderer.sol";5import { Test } from "forge-std/Test.sol";6import "forge-std/console.sol";78contract BasicSVGRendererTest is Test {9 BasicSVGRenderer public renderer;1011 function setUp() public {12 renderer = new BasicSVGRenderer();13 }1415 function testSvgRenderer() public view {16 string memory svg = renderer.renderSVG();17 console.log(svg);18 }19}
Now run
forge test -vv
And you will get the following output to the console.

Please note that you must include the “-vv” parameter; otherwise, Forge will not output the result from the console.log() function.
Now if you want to generate an SVG file from this output, you have to use the following:
forge test -vv | awk '/<svg /,/<\/svg>/' | awk '{$1=$1;print}' > test.svg
And if you open the generated SVG file (test.svg) with a browser, you will see its content.

Hot Reload
The tooling presented above can get you started with on-chain SVG NFTs, but will not make you productive or efficient. Thus, I have developed tooling (initially based on https://github.com/w1nt3r-eth/hot-chain-svg/, but also with many enhancements and improvements and based on Foundry, which is faster than Hardhat) that can greatly improve your productivity. The tooling (as well as the source code of all of the tutorials from the series) is available in the following git repo:
https://github.com/etovass/svg-nft-tutorials Here is a short demo of what to expect with the Hot Reload:
To work with the hot reload, you must either download ts-tooling directory from https://github.com/etovass/svg-nft-tutorials/tree/main/ts-tooling or clone the repo with:
$ git clone https://github.com/etovass/svg-nft-tutorials
Once you have the ts_tooling directory, go to it and execute npm update to download the dependencies.
$ cd svg-nft-tutorials$ cd ts-tooling$ npm update
Now you can use the tooling. Before continuing the Solidity code, let me quickly explain what ts-tooling is about. In short, ts-tooling is a collection of useful scripts that greatly enhance the development experience while working with on-chain SVG NFTs. For this particular tutorial, we will consider only one tool — Hot Reload.
Hot Reload allows you to get instant feedback on the SVG content that your smart contract generates. Run the tool, modify your contract, and save it — and instantly, the browser will update with the new result. See the demo gif above.
You will be running the tool from the root Foundry directory of your project (in our case — tutorial-1-basic-svg-rendering) with the following (for convenience, you will find a script called start-hot-reload that invokes it)
npm --prefix ../ts-tooling run hot-reload ../tutorial-1-basic-svg-rendering/ test/BasicSVGRenderer.t.sol testSvgRenderer 123
where:
- ../tutorial-1-basic-svg-rendering/ is the root directory of the Foundry project
- test/BasicSVGRenderer.t.sol is the relative path (from the root Foundry project directory) to the test that we want to execute
- testSvgRenderer is the test method in the test contract
- 123 is the default/initial ID of the token that will be shown. You can change it later in the browser easily.
You need to get the following two files into ../tutorial-1-basic-svg-rendering/src directory:
- https://github.com/etovass/svg-nft-tutorials/blob/main/tutorial-1-basic-svg-rendering/src/Random.sol
- https://github.com/etovass/svg-nft-tutorials/blob/main/tutorial-1-basic-svg-rendering/src/Utils.sol
I will explain these two solidity libraries in another post since this one focuses on workflow and tooling. In short, Random.sol allows you to generate pseudo-random numbers based on some input, while Utils.sol provides useful utilities to convert int/uint numbers to strings.
In the same directory, also create a file named BasicSVGRenderer2.sol with the following content:
1// SPDX-License-Identifier: MIT2pragma solidity ^0.8.21;34import { Utils } from './Utils.sol';5import { Random, RandomCtx } from './Random.sol';67contract BasicSVGRenderer {8 function renderSVG(uint tokenId) public pure returns (string memory) {9 RandomCtx memory ctx = Random.initCtx(tokenId);1011 string memory circles = "";1213 int hue = Random.randRange(ctx, 0, 359);1415 for (uint i=0; i < 50; i++) {16 int cx = Random.randRange(ctx, 0, 512);17 int cy = Random.randRange(ctx, 0, 512);18 int r = Random.randRange(ctx, 24, 64);19 int sat = Random.randRange(ctx, 0, 100);20 int opacity = Random.randRange(ctx, 10, 99);2122 circles = string.concat(circles, '<circle cx="', Utils.toString(cx), '" cy="', Utils.toString(cy),23 '" r="', Utils.toString(r),'" fill="hsl(',Utils.toString(hue), ',', Utils.toString(sat),'%, 50%)" opacity="0.', Utils.toString(opacity), '"/>');24 }2526 return string.concat('<svg xmlns="http://www.w3.org/2000/svg" preserveAspectRatio="xMinYMin meet" viewBox="0 0 512 512">',circles,'</svg>');27 }28}
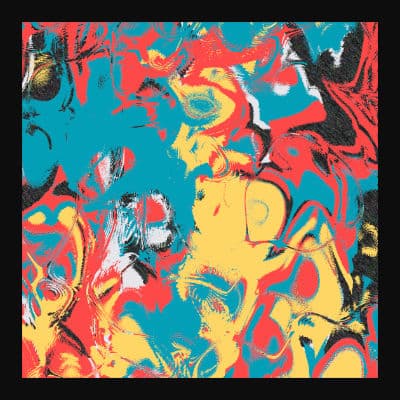
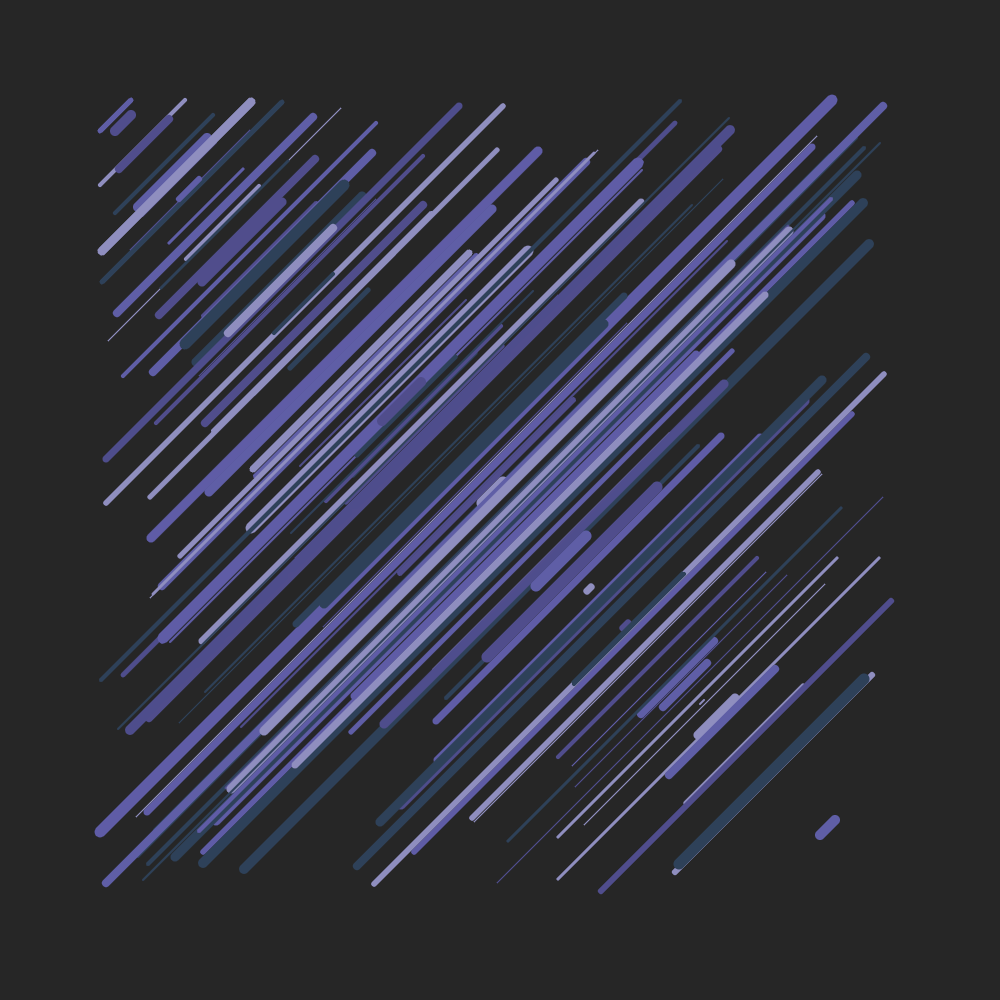
As you can see from the code, this contract has only one function — renderSVG that takes a single param — tokenId. Then, it uses the tokenId to initialize the random context, which means that every time we use the same tokedId, the same random numbers will be generated.
Then it “draws” 50 circles filled with the same color but with different coordinates, radius, opacity, and saturation. This function produces SVG content that, when rendered, will look like this:

Once we have the renderer, we need to update the tests since ts_tooling depends on a specific output from the tests.
You need to copy https://github.com/etovass/svg-nft-tutorials/blob/main/tutorial-1-basic-svg-rendering/test/AbstractTest.t.sol to tutorial-1-basic-svg-rendering/test/AbstractTest.t.sol
I will explain the AbstractTest.t.sol in another post since this one focuses on tooling and workflow. In short, this file is responsible for outputting SVG (and gas consumption) to the console, in a specific format so that ts-tooling can understand it.
Then you have to modify test/BasicSVGRenderer.t.svg to have the following content:
1// SPDX-License-Identifier: MIT2pragma solidity ^0.8.21;34import { AbstractTest } from "./AbstractTest.t.sol";5import { BasicSVGRenderer } from "../src/BasicSVGRenderer2.sol";67contract BasicSVGRendererTest is AbstractTest {8 BasicSVGRenderer public renderer;910 function setUp() public {11 renderer = new BasicSVGRenderer();12 }1314 function renderContract(uint tokenId) internal override view returns(string memory) {15 return renderer.renderSVG(tokenId);16 }1718 function testSvgRenderer() public view {19 super.testRenderer();20 }21}
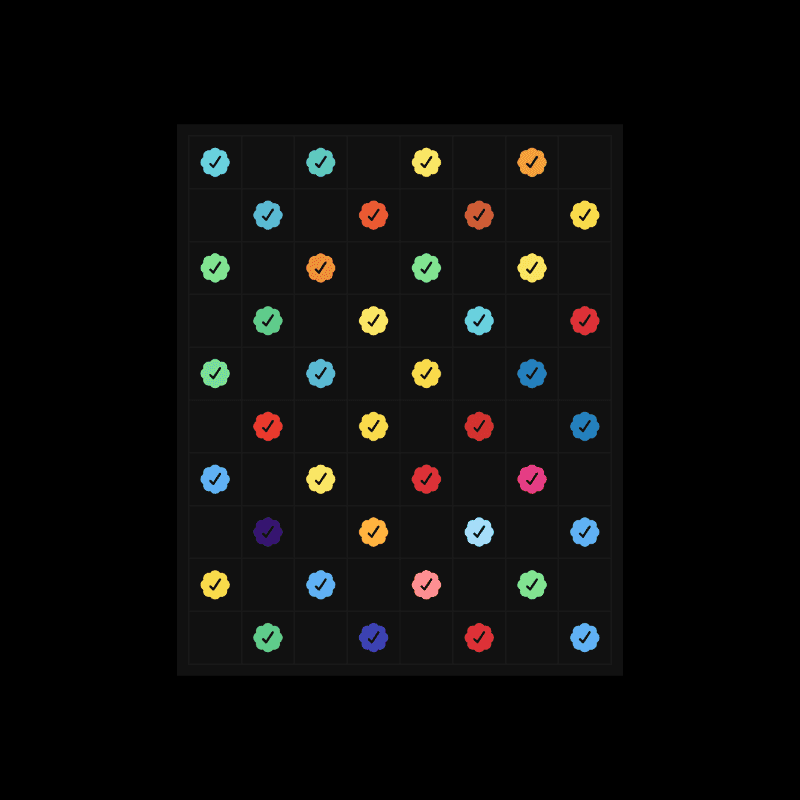
And finally, if you run ./start-hot-reload.sh from tutorial-1-basic-svg-rendering and navigate your browser to http://localhost:9901, you will see the following page:

Congratulations! This means that your tooling is successfully set up, and we are ready for Part 2, which will cover how to create a mintable NFT contract, based on ERC-721.

Thank you for reading. If you like this tutorial, please support the author by minting one or more Alien Runes. Alien Runes is a fully on-chain NFT collection that generates SVG content from Solidity code and has complex algorithms to produce infinite unique runes. Available here: https://alienrunes.xyz/
Links
Git Repo for this tutorial:
SVG Tutorials: